iPhone 5 repair work.
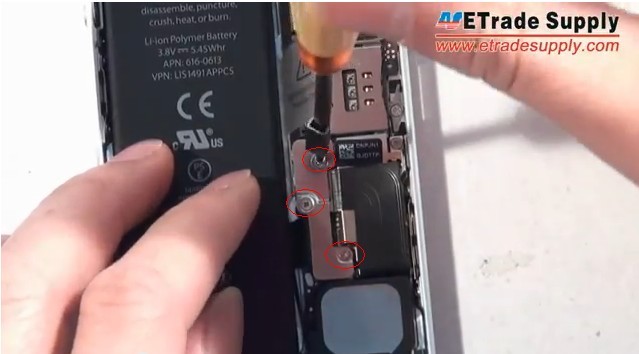
3. Use Small Phillips Screwdriver to remove 3 screws.
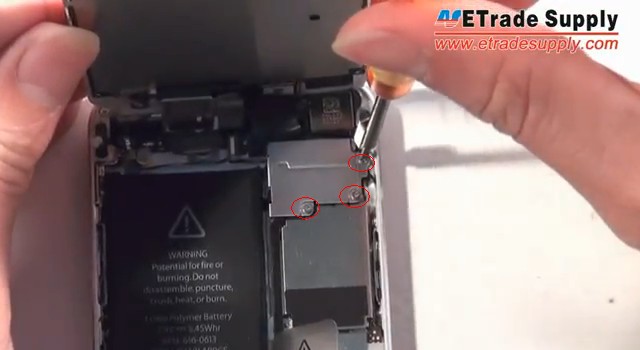
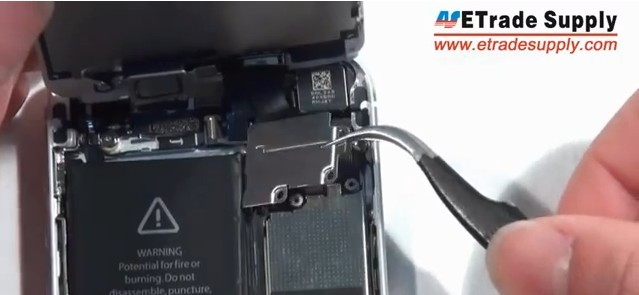
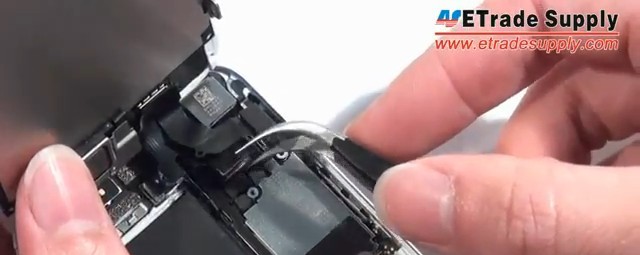
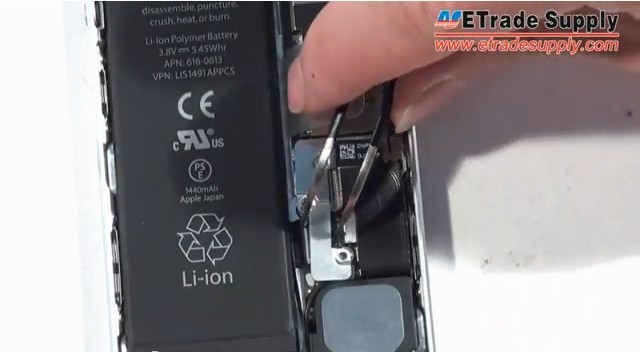
4. Use a pair of Tweezers to pick up the metal shield then disconnect 3 connectors
iphone 5 Disassembly Guide Video

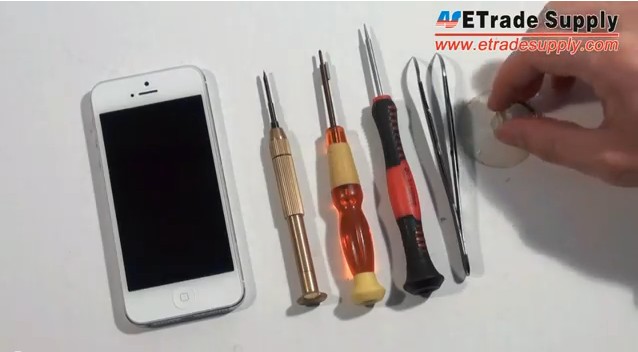
Tools needed
1) Sucking Disc
2) Tweezers
3) Pentalobe Screwdriver
4) Small Phillips Screwdriver
5) Straight Screwdriver
1) Sucking Disc
2) Tweezers
3) Pentalobe Screwdriver
4) Small Phillips Screwdriver
5) Straight Screwdriver

1. Use Pentalobe Screwdriver to release 2 screws.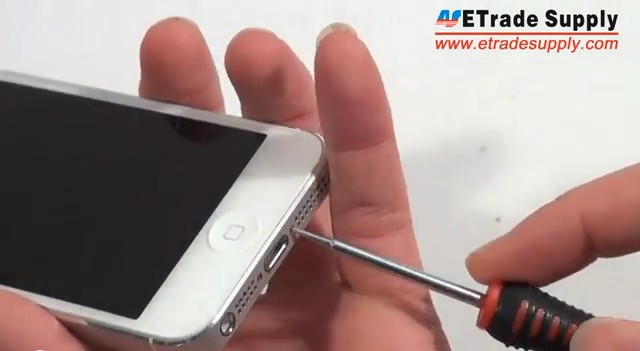

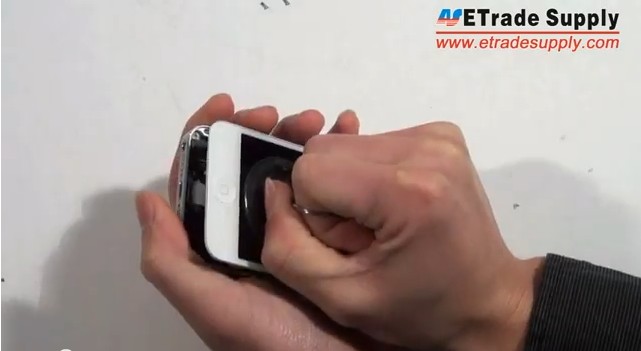
2. Press the Sucking Disc on the digitizer assembly, carefully pull it up.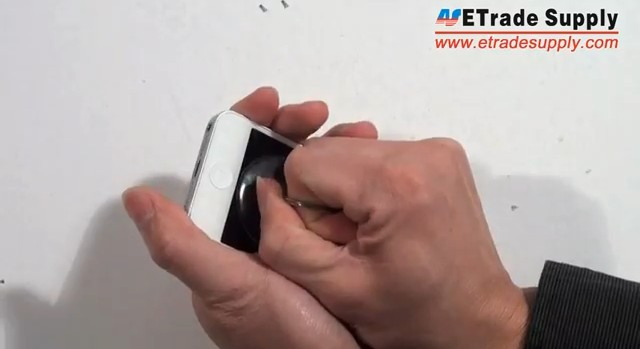


3. Use Small Phillips Screwdriver to remove 3 screws.

4. Use a pair of Tweezers to pick up the metal shield then disconnect 3 connectors


5. Use Small Phillips Screwdriver to remove 3 screws then for the 2 metal shields.


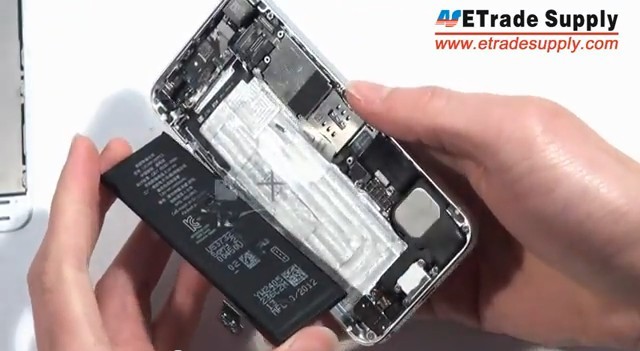
6. Disconnect the battery connector then remove the battery.
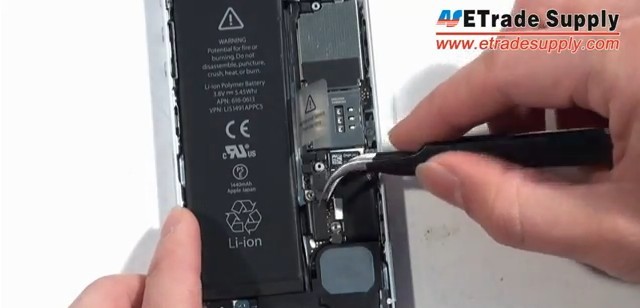


7. Disconnect 2 antenna connectors and charging port connector.
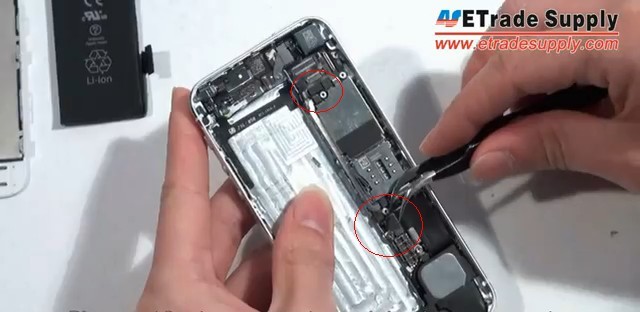

8. Use Small Phillips Screwdriver to remove 4 screws then a metal shield.
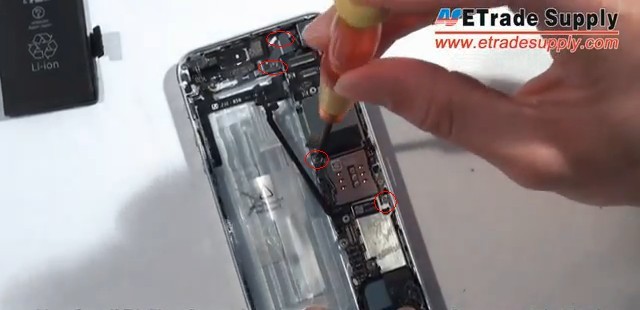

9. Disconnect another antenna connector then use Straight Screwdriver to remove 3 screws.
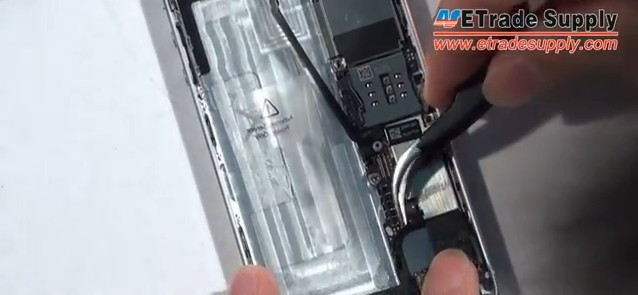
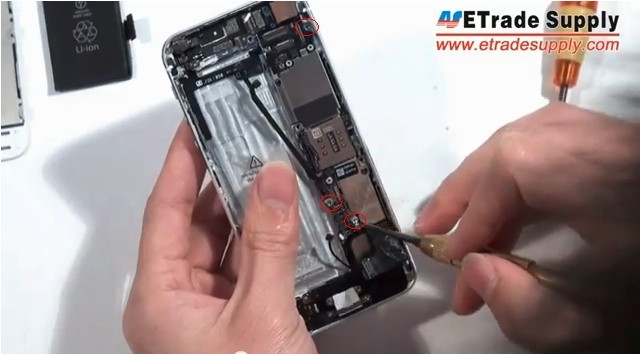


10. Use Small Phillips Screwdriver to release 2 screws on the top of the rear housing.
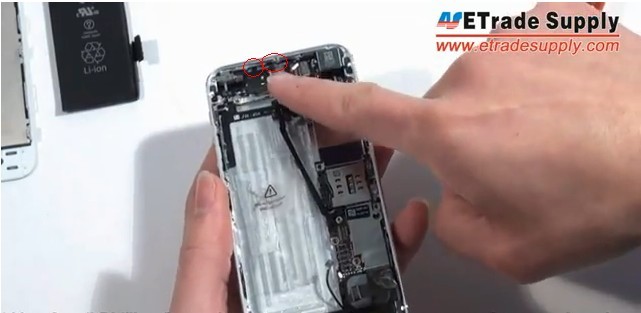

11. Turn over the motherboard assembly then disconnect a connector to release it.
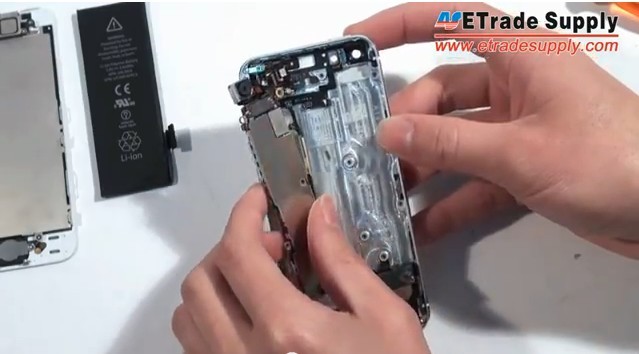
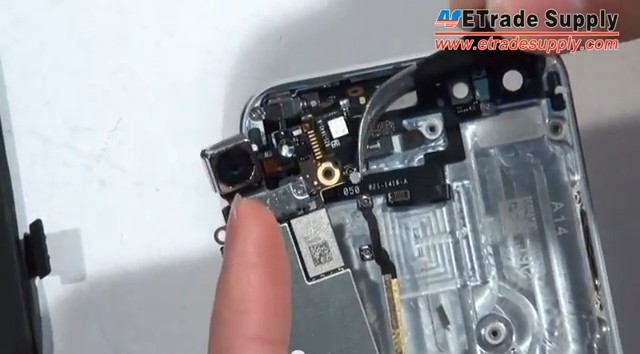


12. Use Small Phillips Screwdriver to remove 2 screws and a metal shield then release the rear facing camera.
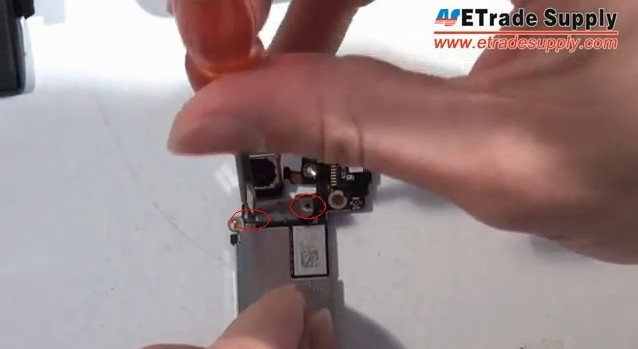
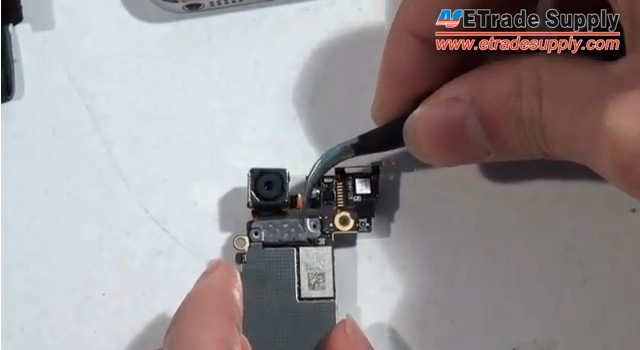
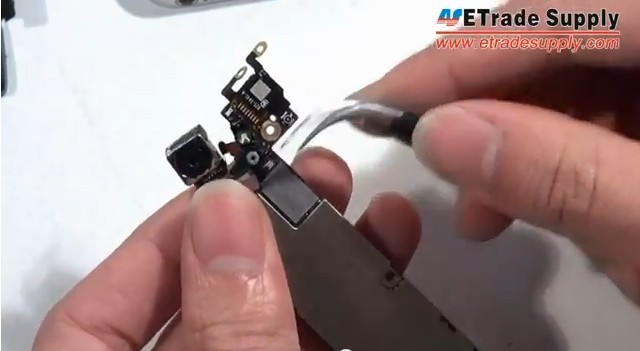


13. Use Small Phillips Screwdriver to remove 7 screws.
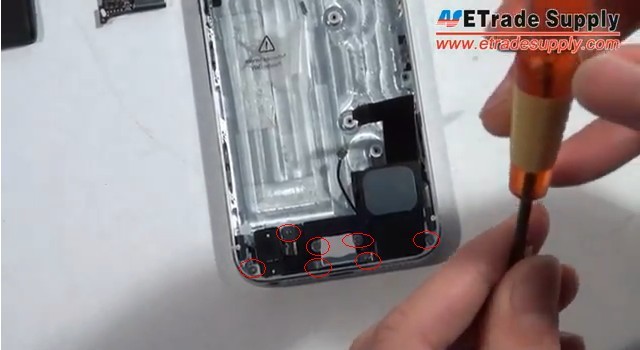

14. Remove the charging port assembly,
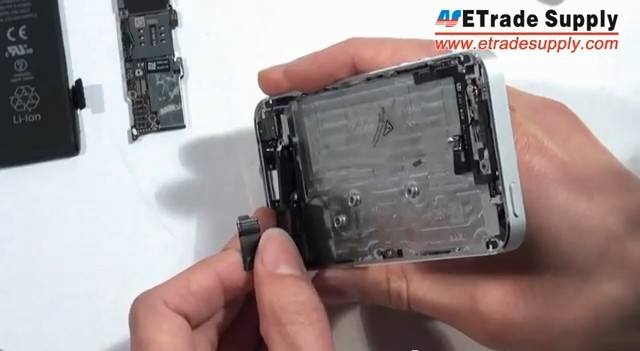

15. Use Tweezers to separate the charging port flex cable and loud speaker.
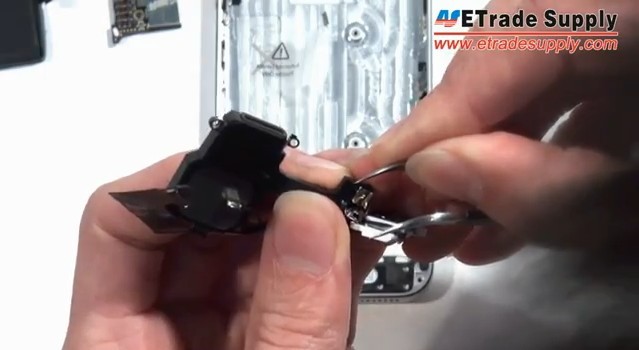

16. Use Small Phillips Screwdriver to remove 2 screws and a metal shield then the home button can be released.
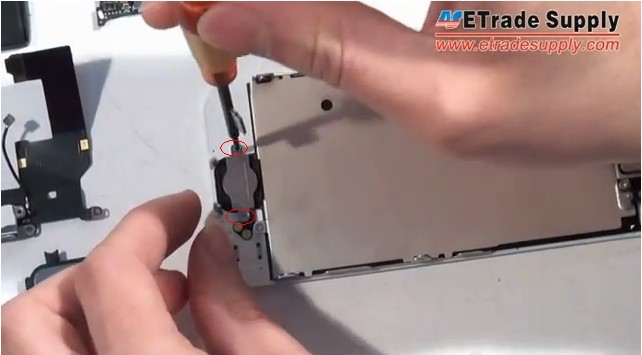

17. Use Small Phillips Screwdriver to remove 2 screws, the metal shield and ear phone can be released.
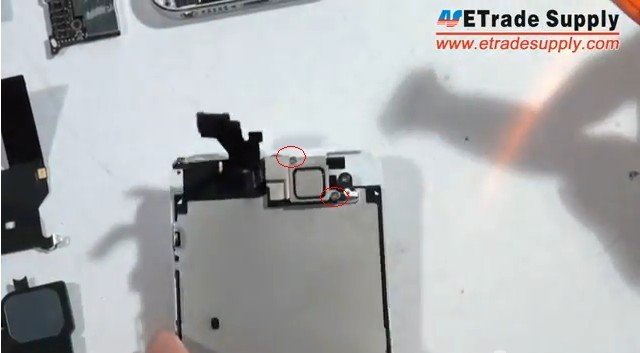

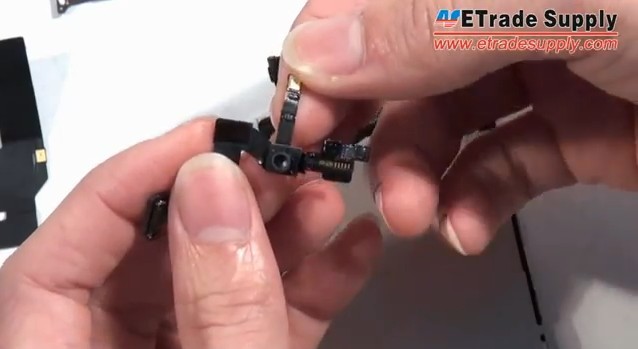
18. Remove the front facing camera with sensor flex cable ribbon.
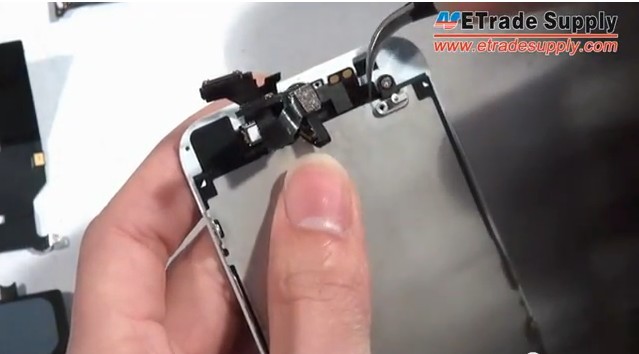


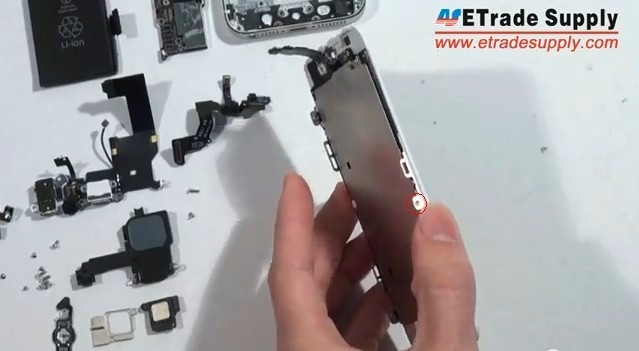
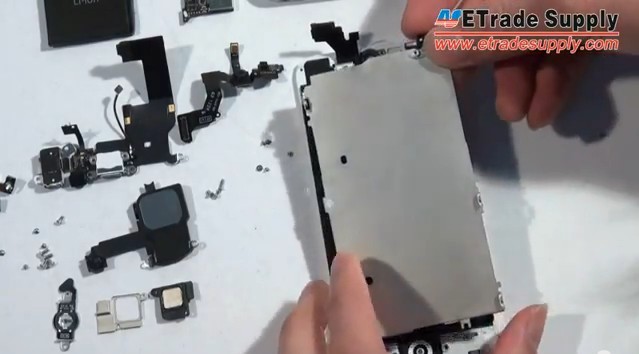
19. Remove 6 screws then the LCD heat shield can be removed.


20. iPhone 5 Tear Down Parts
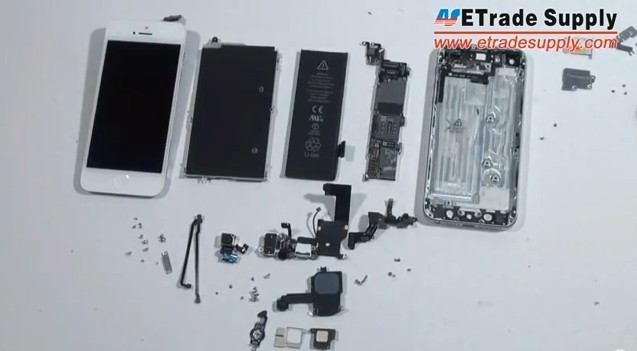

iphone 5 Disassembly Guide Video
No comments:
Post a Comment